A step by step guide for making a Custom Rubber Stamp in 2023
There are several uses for rubber stamp makers who make stamps, including streamlining business processes, improving craft projects, and decorating various surfaces. There are so many uses for stamps, and everyone prefers different things, so being able to customize your stamp is essential. People, businesses, and projects are all different and need other stamps. Custom rubber stamps online and offline are easy to create to meet your needs, whatever they might be!
Considerations for Custom Rubber Stamps
 Never compromise the quality of your stamp when designing one for your company since it will ultimately be the medium through which your customers will establish a connection with you. To do this, make sure that the material being used to create custom stamps is of high quality and that the rubber stamps will leave clear impressions. When developing a customized stamp, durability and solid prints are the most critical factors to consider.
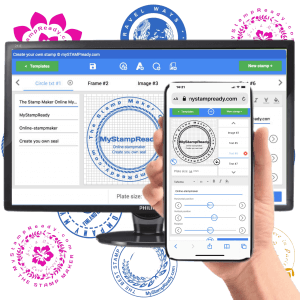
A Step-by-Step Guide to Creating Custom Rubber Stamps
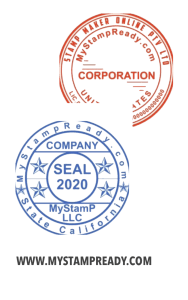
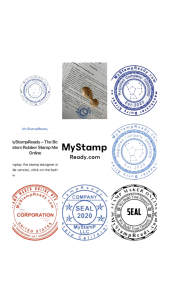
While designing a custom rubber stamp, attention should be paid to two aspects. Contact information and pictorial representations such as logos or particular messages such as company slogans.Name of Company
Office Address
Telephone or mobile number
Email Id
An apt logo
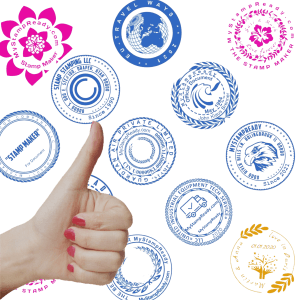 Adding a logo to your company is optional, but it is one of the best ways to make your presence felt. Today, most businesses prefer to have custom logo rubber stamps since they imprint your company's identity deep into the minds of their audience. However, it's impossible to capture what a logo says even with thousands of words.
A slogan
If you have a short company slogan or select large rubber stamps, you may put your business slogan on the customized rubber stamps for an added advantage. However, it doesn't serve any purpose in making messy information presentations.
Guidelines for DIY rubber stamp
Decide on a design.
Choose the right size for your design.
We are tracing the design.
Carve the rubber to start.
 Slicing away the blank rubber adjacent to the graphite-coated areas should begin with the outline of your design. It is recommended that you only cut a few millimeters into the material. The easiest way to navigate the blade into tight corners and fine-tune small details is to hold the tool steady while turning the rubber block beneath your hand. Make sure to carve away just a little rubber at a time. You can permanently remove more later, but you can't put it back once it's gone.Remove the rubber block from your stamp. Separate the area containing your design from the rest of the rubber with your knife tool. This will enable you to maneuver the stamp more quickly as you carve more. Use more extensive carving tips to remove more prominent areas. After cutting all the outlines between the graphite and the blank rubber, change your tip size and go over them again. Do not remove any design material, but just the rubber itself. Carve a little deeper, but don't cut any more profound than a third of the way through your rubber block.
Check your stamp.
It's time to put your stamp to the test:
- Remove all excess rubber crumbs and pat ink onto the stamp using your ink pad.
- Press the stamp on a scrap of paper.
- Look at the design it creates.
Fine-tune the stamp.
Seal the wood with a stamp.
 As soon as you have a good piece of wood in your hands, ink up your stamp and apply it firmly to the amount of wood. You can then see what the stamped image will be like. You may need to fill your design with a permanent marker since wood isn't always completely smooth. Next, you will attach the rubber stamp to the underside of the wooden base by stamping it in the exact center of the wooden floor. You can use sandpaper to smooth rough wood if it is too harsh for you. Before stamping your design, brush off any wood dust that has accumulated.
Mount the finished rubber stamp on its backing.
Apply strong wood glue to the bottom of the new wooden base to secure the rubber stamp. This wooden topper allows you to apply even pressure to your logo every time you use it and align your design exactly where you want it.
Conclusion
Even in today's increasingly digital world, rubber stamps play an indispensable role, whether you're speeding up paperwork or creating a unique handmade gift. They are available at craft stores, but they offer a limited selection of generic messages, and ordering a custom design is expensive. So instead, make them yourself. You can make a piece of art that you (or the lucky recipient) can use again and again with a few inexpensive materials.
Date of publication 2022-03-22 22:18:43