Make a stamp at home
Great custom stamps (clichés) are not difficult to produce at home. Below you will see that. Materials and equipment, in most cases, are realistic to find right at home. You may have to buy just a few small things or borrow something from a neighbor. So if you're into crafts and creative projects, you’ll find that carving your own stamps is a lot of fun and surprisingly easy to make. Before you start, make sure you have enough space for your crafting. Our review will begin with ways to develop a sketch, continue with methods of making a stamp, and at the end, there is a paragraph about how it can be used by you and your children.
Create stamp print design with program
In order to make a stamp with your own hands, you will first need a sketch of your rubber stamp. You can draw your design by hand, but it is better to use a stamp drawing program.
Design rubber stamp in Microsoft Word
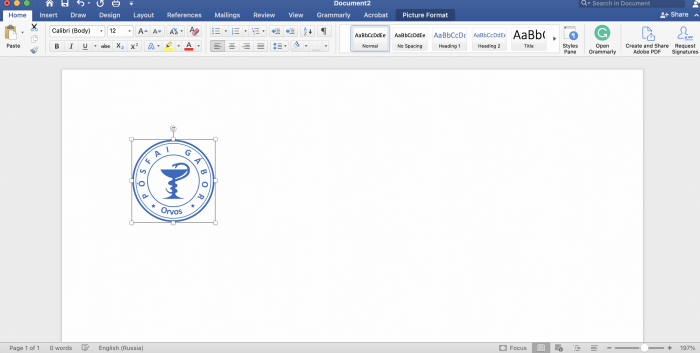
Even in a program as familiar to us as Word, you can find the answer to the question Can I create a stamp in Word? This requires knowledge and patience. In the main menu, go to "insert," and from there, go to “shapes”. You need "basic shapes" because it is implied that the custom stamp will be circular. It's called a "ring" here. Adjust the size you want. Enter the lettering itself. This is only done after a series of steps. Go in through the tool "insert" (then "WordArt" – then the letters themselves will lay down as they should). Set the size and style of the font. Only then enter the text and all other elements of the image in the input window. You can even change the slope of rubber stamps’ letters and symbols. Only after that, you can save the file with the print project.
Create rubber stamp print in Photoshop
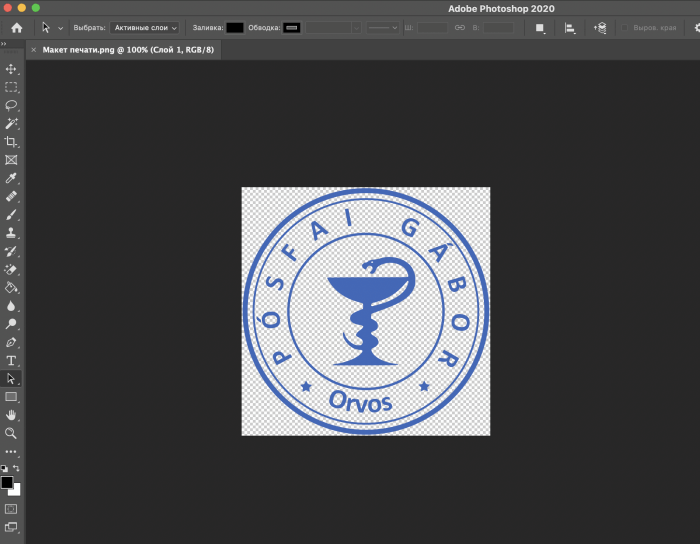
Here's a solution for pros in making stamps. Here you go by the scheme "create" – "file" – "new" (set the same side in the size window that opens) – "horizontal text" – type the letters themselves (select the font style and the size of the letters of the text). The inscription itself will not be rounded. Look for the "text deformation" option, and inside it – "arc deformation". But that's not all. You should make a duplicate of the layer. Reflect it 180 degrees. Select the tool "oval area" – only now you add the image, which should be in the heart of the rubber stamp. So it's 2 different layers here. If you need to go back to edit the text – on the "layers" widget (on the right) go to the 1st layer.
Create Stamp with Corel Draw
There's a whole utility devoted to stamps in this graphics package – there are so many possibilities that it's time to read a chapter in a textbook on the program. If you are interested in how to design a stamp at home using Corel Draw, it's definitely not easy.
As you have seen, all the procedures described are complicated if you are a simple layman and not an expert in print design. But don't despair. A way of designing clichés has been invented for a person with no professional training and of any age...
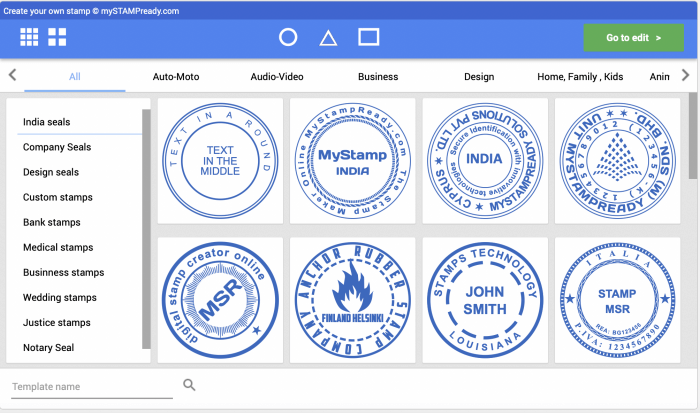
Make your own stamp with stamp maker MyStampReady
The easiest solution to makestamps foryour project is the MyStampReady (MSR) constructor. It is specifically designed to create sketches and wedding stamps in minutes. When you open the intuitive MSR interface, select "create new". You should immediately select your thumbnail style. Decide what you want. Custom stamps, notary stamps, wedding stamps, personalized stamps, business stamps, company stamps, medical stamps, or fake stamps. The named online stamps designer itself "leads" you – no need to think about selecting tabs and then the tools within them. Patterns are offered with this or that arrangement of text in a ring or in the middle. You can add any information, including the office address and email address. The same with the rubber stamps pictures. You'll have to personally set aside the thickness and number of rings. Text? You work here like in Word.
Production of rubber stamp
A word of warning: the story below is about the working part of printing. It is assumed that you already have a base (something you hold with your hand). After all, you can buy it, re-use an old one, or make it out of anything. This is just a handy grip element, to which the surface for the print is glued.
We should add – as inking stamps, use a piece of ordinary sponge inserted into a matchbox (sealing will be perfect if you cover the box with duct tape).
Rubber stamp from an eraser
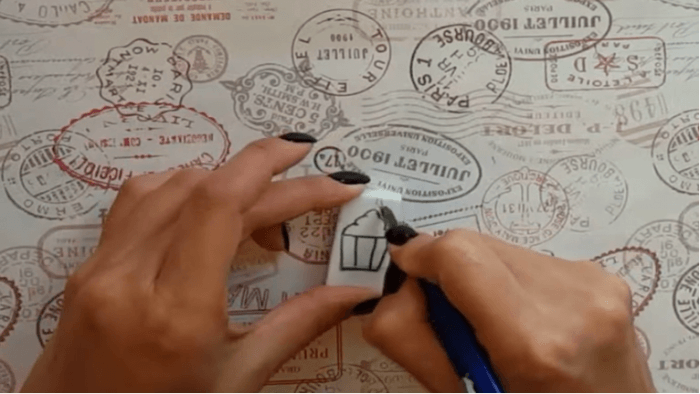
First, choose a soft block for carving. This is a classic DIY project that even kids can be trusted with. Turn an eraser into a “canvas”. Transfer onto it (through a "carbon copy") the required elements from the printout of your notarial seal sketch, created in the MyStampReady constructor. Make sure to leave space around the design. This step will help prevent accidental cuts around your stamp while you're carving. When you're ready, start carving your own stamps carefully. Use a special cutter (a small stationery knife will do) to get rid of everything between the elements of the image. The edges should be perfectly flat. The rubber stamp is ready.
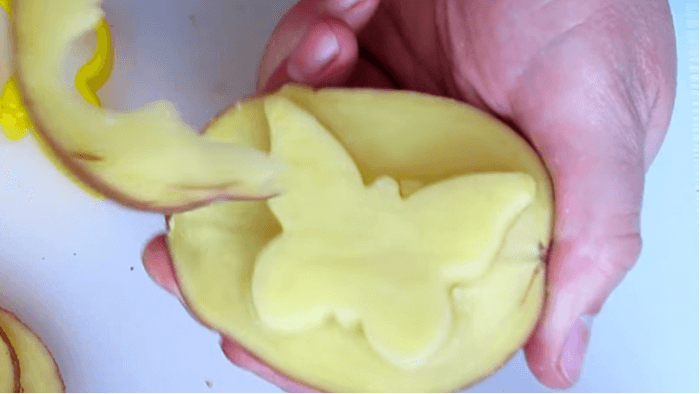
Rubber stamps from raw potatoes
This method of stamp making is the most budget-friendly. The costs are limited to the cost of 1 tuber of potatoes! Wash it and, as evenly as possible, separate the topmost segment from it. So that the open cut corresponds to the dimensions you need. Next, attach a circle with a stamp design (text, symbols, etc. from a notary stamp sketch or postcard stamp design created in the MyStampReady constructor) and cut everything between the elements – carefully carve with the smallest stationery knife, or better yet, a small woodcutter. A lot of beginners find it best to try simple shapes before moving on to more complex ideas.
In the case of this photo, you just pressed a mold into the potato, kits of which are on sale. Now you need to cut off the part of the tuber that you won't need later on (the very bottom).
Although this example is a "kindergarten" example of how to make your own stamps, it demonstrates the quality of the potato material perfectly. It remains to be seen how much paint or ink the material is capable of absorbing. Enough is enough.
Notice how accurately all the curves of your imprint image are conveyed here.
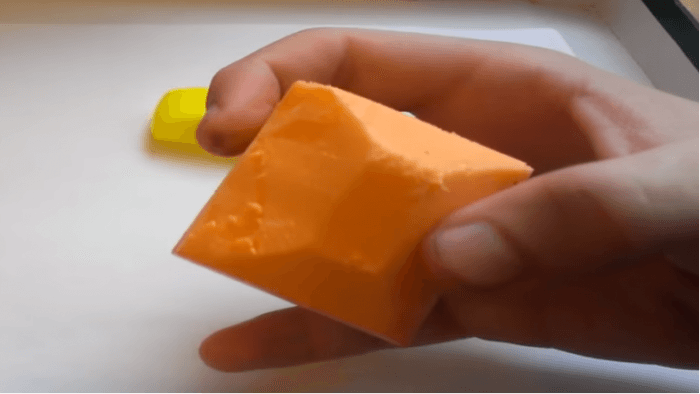
Create a stamp of dense soap
This substance is usually a rich yellow or carrot color – it is sold in rectangular slabs as insulation for buildings and structures. You can get a piece of the slab at a construction site.
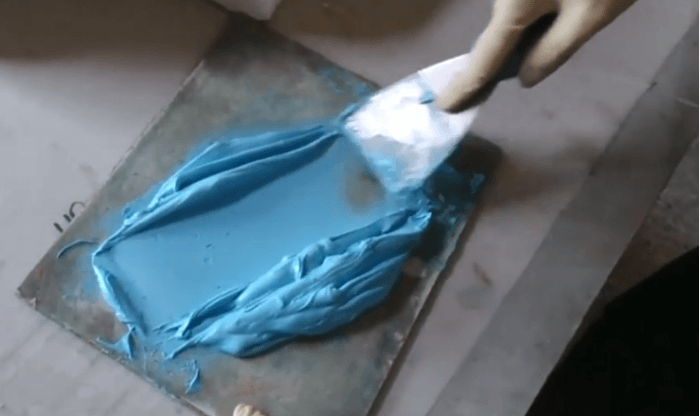
It is so thick that the cut workpiece can resemble a cube. From it, using a construction knife, it does not take long to make a shape like the one shown in the photo below. Use the side with the reduced plane then to introduce a flat handle into the custom rubber stamp.
All you need next is a bold marker, a needle (pin), and a disposable lighter.
Print a mirror copy of the MyStampReady stamp online. Then apply it to the surface of the blank. Heat a lighter needle (pin) and draw the lines with it.
The point is that the lines should be melted with the same pressure – so that there is no distortion.
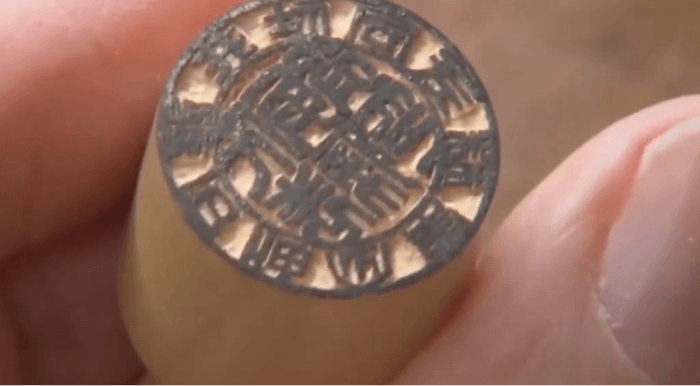
Make seal from sheet metal
If you want to make a stamp that will be durable, use a sheet of metal (at least 2 mm thick) and a layout made in one of the programs.- Use any tool at hand to cut out a square with the sides satisfying the handle (preferably a standard one) and another one of the same kind.
- Clean 2 sides of the workpiece with emery skin. Almost "mirrored" should be only one side. And the second is enough to make it a little smooth, removing all the rust.
- Degrease the surface of the square with any solvent. The main thing is not to smell it.
- Next, cut a printout from the sheet (the sketch of the custom stamp on the card, created in the MyStampReady constructor). But leave a centimeter leg by which you will hold this circle. Warning. Important: the print should be laser, not inkjet.
- Pour water into the lid of the jar. Place the blank on a non-combustible surface and heat it with a gas torch. Next, attach the cutout (print side) to it.
- Now the main thing is to press it with a cloth. Just one neat push (so as not to smudge the print). Only a couple of seconds later, you can gently smooth out the paper.
- Then you put it all in water! Well-soaked paper should be gently swept from the iron square with the fingers (not nails!). Roll it up, periodically wetting it. Only the picture (printer toner) should remain on the metal.
- The solution for etching is prepared from the electrolyte (pour it into any container that you do not regret throwing away later – preferably a transparent one-liter bucket). Wear safety glasses and gloves. This liquid is very dangerous to health. Pour a couple of tablespoons of table salt and mix it thoroughly. Make two clamps from thick wire – for the anode and cathode.
- The back part of the cliché should be taped with a piece of wide tape - so it does not react with the solution. The workpiece is placed with a clamp. It is a cathode (connect the plus). Here is the second square. It will be the anode (connect the minus). The etching process has to take place in a draft. Volatile substances are very toxic.
- Armed with rubber gloves and safety glasses, the workpiece requires careful movements up and down, as well as sideways. You must keep an eye on the temperature of the material – the laser toner must not overheat (it can simply run off).
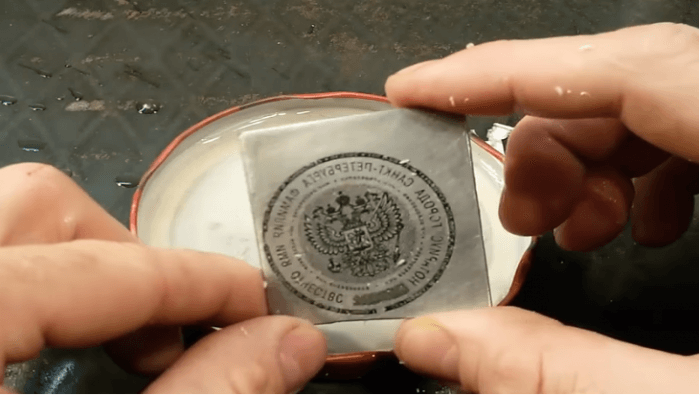
- After one hour of etching, the iron can be taken out and scrubbed of any hazardous residue. Then cut out the printing circle itself from the square – glue it to the prepared base.
Made stamp from sanitary sponge
If you want to make your own rubber stamp out of the plain sponge, cut the shape you want from a piece of "kitchen" foam ("sponge") (but it must be simple). Transfer the image of the sketch of the special rubber stamp you created in the MyStampReady constructor using a photocopier. Draw around it with a marker (permanent marker). The next step is to use a stationary (construction) knife. For such a dimensional cliché, you will also need a base-"exception". It's best made out of a sleeve for a skein of toilet paper. Simply coat the surfaces to be joined with some good glue (as you have understood, it is the end of the sleeve that is mounted to the product)...
And by the way, you can even make small things (like the photo) out of the dense part of the sponge (cleaning) already!
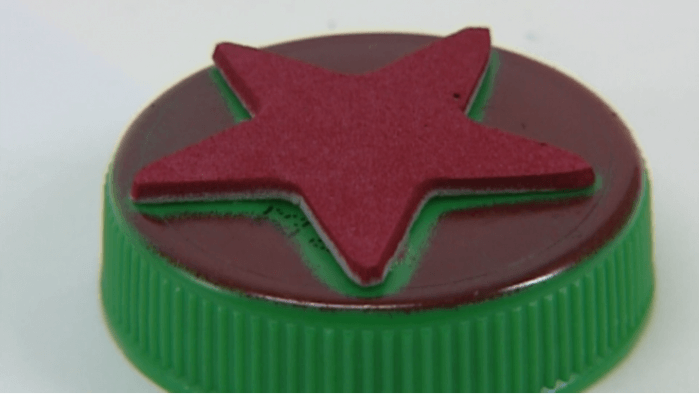
In this case, the inking stamps are so compact that an ordinary plastic cork was suitable as a base for them. The benefit is that this material absorbs more dye than others.
- The pressure to trace is weak (the foil tears easily). The tool is a ballpoint pen!
- Carefully pour dense paste into the recesses. Epoxy adhesive will also work. If it is still putty, roll it out as well as possible first (no lumps!).
- After a while, remove the finished cast. And it should separate easily from the foil.
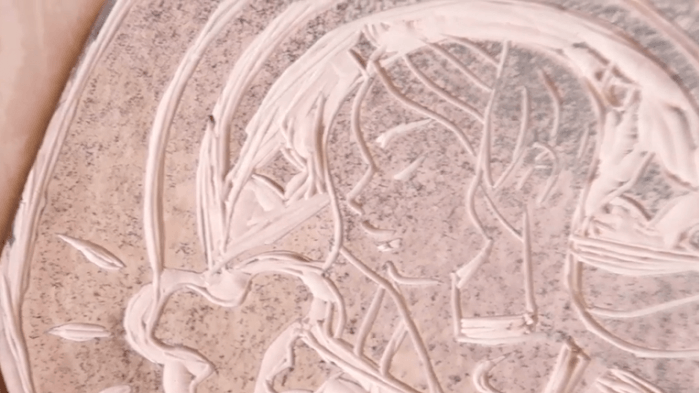
Made stamp and seal of plaster and plexiglass
First, prepare a mold for casting. Part of some round tin box will do (a prime example is Pringles potato chip packaging). Leave a height of no more than 3 cm. That is, you will end up with a ring. And it should be well fixed on a sheet of translucent polymer. The surface of the Plexiglas must not have a single scratch (otherwise these grooves will also be imprinted)!
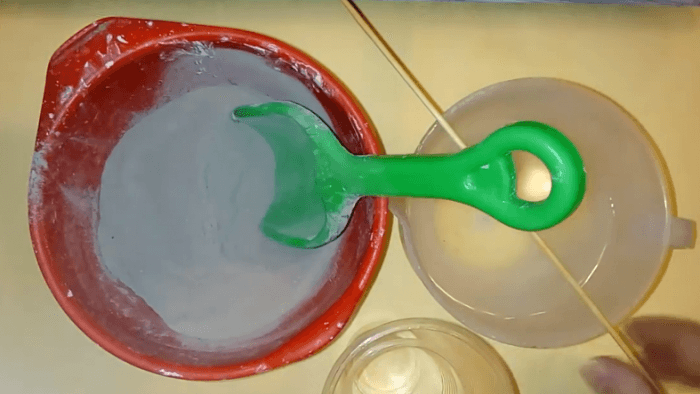
Then mix construction alabaster in some containers and pour it into the ring. It should be as thick as sour cream. And no lumps! The end of the form should be shaken a little (so that the mass penetrates into all corners). After 30-40 minutes, remove the plaster blank, cutting through a part of the ring (in order to gently pick up the alabaster from below as well). Wait 3 days for the mass to harden.
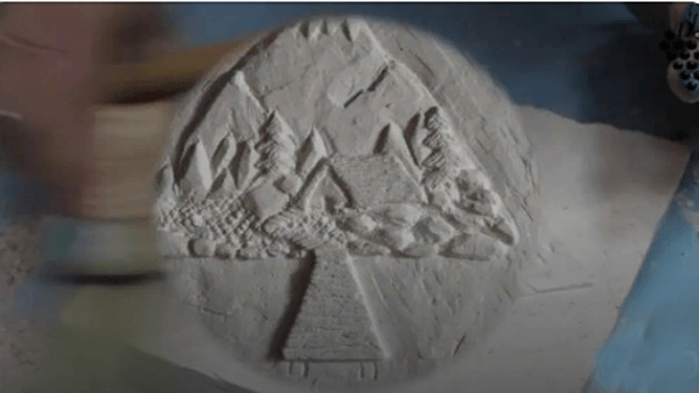
Only after that, use copy paper to transfer the image (from the printout of the theme print created in the MyStampReady program) to the alabaster circle. In this case, however, there should be no fine details. The hardest thing left is to deepen the lines by a millimeter with something sharp. But not a knife! Ideally, it should be something like an awl. But it would be better to use a wood cutter.
The movements of the tool should have a strong pressure not at the very edges (you have to go over them with extreme caution), but precisely in the middle (the most deepened) part of each image element. That's why picking with knives (even clerical ones) is inadmissible.
Below you see one version of what you can get if you follow the instructions.
Of course, you can't cut things like letters and the finest monograms out of plaster. It crumbles. This way of making a custom rubber stamp in general can be called the most “extreme”. But something comes out.
Made stamps of very thick cardboard, plywood, or wood
Sketch, for example, a rubber stamp for a particular event, created in the constructor MyStampReady, you cut out and glue a circle on plywood or on high-quality cardboard (that is, on a cut-out blank that exactly matches the diameter of the printout). On this thing, you have to burn out everything between the details of the picture (the elements of letters and different characters). You have to use an autocue burner (anyone who grew up remembers what this is). Don't you have one?

So, lying around in the garage of some friends and acquaintances... Burn out and glue the circle to the base.
The best execution is on a piece of wood with a good density (as in the picture).
Made seal and stamps from linoleum
Design images with this material is generally recognized as a type of graphic art. It is called "linocut". Such clichés also have a professional name – "board". So, now you know that you need a piece of linoleum.
What else will you need besides the said material without texture? Oh, the essential little things.:- a box cutter;
- a wooden cube (can be from an old toy set);
- any glue (except for stationery);
- preferably also a dagger (a professional "chisel" just for linocuts).
You'll see that the toner has now transferred to the cut (as you need it) piece of linoleum. Now all that's left to do is remove anything you don't want. A stationery knife makes notches along the lines, and a scraper is the easiest way to "scoop" material out of the gaps in your workpiece. Done.
As in all other cases, the only thing left to do is to plant the cliché on the die "handle" (this is where you need the glue). In terms of quality (print sharpness), it will win even over the one that you order from professionals. By durability, it loses only to metal. The advantage of linoleum engraving is the ability to make the smallest nuances. Entire works are created.
Custom stamp from the cuttings of farm tools
Finally, the last alternative to the technology of homemade printing is associated with a neatly sawed-off fragment of an industrially produced "stick" (a piece of a broken handle of a shovel, rake, hoe, and so on). The advantage of it is that both the handle and the working part of the blade will be made from the workpiece at once. You will need "sandpaper", a pencil, a construction knife, a piece of thin cardboard (or very thick paper), glue, and an incinerator (which has already been discussed).
The aforementioned fragment of the stalk (up to 7 cm long) should be perfectly trimmed with sandpaper. Transfer the sketch of the seal, invented in the MyStampReady constructor (matched in diameter to the section of the workpiece) on cardboard (paper). Cut it out with a stationery knife. Then cut out the circle itself and glue it to the edge of the workpiece that will be the surface for the impression. Use a bold pencil to trace inside the stencil. Now the cardboard stencil can be peeled off – it is no longer needed.
As you have already guessed, it is not the transferred stamp image itself that needs to be burned, but everything around it.
The advantage of such products (plywood, foam, potato) is that they all have pores into which the ink (dye) intended for the imprinting process will be absorbed.
Once your stamp is carved, grab a stamp pad, press the stamp down, and you're ready for some fun stamping. If you're looking for more inspiration, tips or ideas, Pinterest is full of creative projects that people post every day!
The applications for custom business stamp designs are limitless. They can be imprints designed to decorate invitation cards. Some people attach clichés to put their personal mark on papers. Personalized clichés are widely used in scrapbooking (decorative). Some will act as design details for your print book. Or even as decor for room items. How? A child will put a stamp wherever you let them – decorate a tablecloth, pieces of furniture, maybe… even wallpaper.
Conclusion
I've tested many ways of creating a stamp design, and, from my experience, there is no point in using too complicated programs like Corel Draw, PhotoShop, or Microsoft Word, if you are going to craft something.
Cons:- you need to download and install them;
- full version, usually for a fee;
- need to spend time learning;
- usually there is no mobile app.
Then you can choose how to make the ready-made cliche yourself. Each of these DIY methods is effective in its own way. Personally, I prefer stamps made of dense foam; they are long-lasting. But the version made of plaster and plexiglass is the most elegant. The most difficult thing is to make a stamp by firing, but there you can give free rein to your imagination and give the stamp personality. And if you're interested in products to make your crafting easier, I’ve included a few affiliate links in this post. In any case, as a result, you will get a stamp that will serve you well for a long time. Happy stamping!
Date of publication 2023-02-09 19:21:11