Corporate seals in Microsoft Word
Nowadays, when digital documents (may it be a certificate or any other) are widespread, many companies need to verify such papers with corporate stamps and electronic signatures. While Microsoft Word is the most popular text editor, “Can I do it right in this application?” is among the frequently asked questions. It is possible to stamp official documents and other texts in the app without having any special skill.
The instruction for the instruments
 Developing a design of a stamp is the main step. The user of the software can find instruments for it right in the program. But it's more convenient to use an online stamp constructor. Let's look at the instruction:
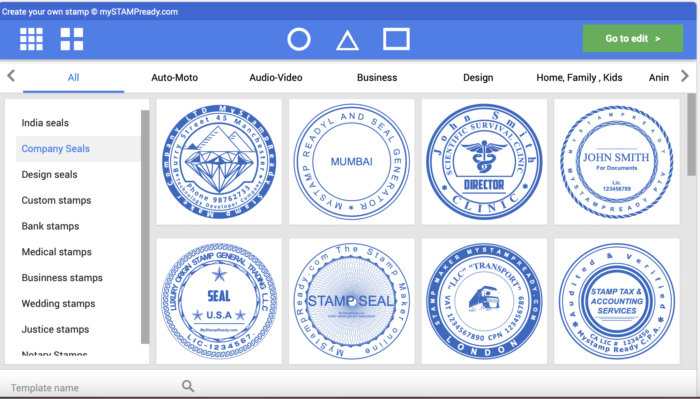
- Select a constructor. MyStampReady is among the most useful ones. Visit the website and get access to every feature.
- Choose an appropriate stamp template. Each of them may be adjusted.
- Make a custom design. To personalize a corporate stamp, place a title, a signature line, images, the name of a signer line and other elements to the layout.
- Inspect a preview. A user must make sure that each component is in its place and looks the way he wants. Make changes if necessary.
- Save and upload. Save the layout in PDF or other available format and upload it to PC.
Upload high-quality images to avoid pix elation and make a print clearer.
Experiment with style.
Save a backup version. While working on design, download all the intermediate steps. Doing that, you get a possibility of returning to the earlier stages if something goes wrong.
Use more resources. This gives you access to some extra components, such as icons or graphics, available on the Internet.
Check for errors. Make sure that there are no grammatical, semantic or other mistakes. Correct them or change the text if necessary. Also, you should remove the superfluous elements.
Creating a corporate seal in Microsoft Word
 Also, the layout of custom seals may be developed without leaving the MS Word application.
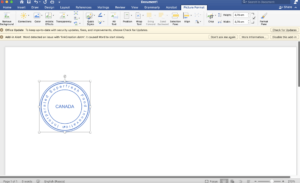
- Select the shape of a digital company stamp. Open the app and select an empty page. Use the Insert tab to choose the form of the stamp (it may be rectangular, round, or even star-like), then draw it to the document. To get a correct shape, press a Shift button.
- Change the properties. Click on the pattern and select the "Shape Format" option of the menu. Set width and height. Adjust a contour mode, for example, to make it gray with a transparent filling.
- Add text. Right-click inside the figure and press "Add Text". Write required words. Select the needed font.
- Decorate the stamp by adding a logo, a signature or some other sign. Insert the image in the center of a company seal. To do this, go to "Insert" → "Picture" and select the graphic file with the logo. You can also make the borders of the shape thicker. This can be adjusted in the "Outline of a shape" section.
- Use a transparent background. To prevent a stamp from covering the text of a document, select "No fill" in the shape settings.
- Save the stamp. Go to "File" → "Save as" and select "Template". Now you can insert a stamp into any document in just a couple of clicks.
Adding a seal into the document
 To insert an electronic stamp file into a Word document, you can use the following method.
Create an electronic seal layout and save it in a Word-compatible format, such as PNG with a transparent background. This will help to avoid unnecessary elements. The most useful tool for it is the Mystampready online constructor.
Open the Insert tab in the Word interface.
Select "Drawing" and download the file from your computer.
You may need to adjust the size and position of the print to ensure perfect placement in the document.
Font, size, and style adjustments are also available. The print should stand out clearly against the background of the document, so use filling and fonts that contrast with the main text.
After adding a stamp, a document is available for download or print immediately. If the seal is going to be used regularly instead of a rubber stamp, you can save it to the Word Autofigure gallery for future access.
Date of publication 2025-03-31 23:11:30